Over the past six months, artificial intelligence-generated art has experienced a significant surge in popularity, with platforms such as Midjourney, Dall-e, and Stable Diffusion standing out as notable examples. Both Midjourney and Dall-e provide free trials, though users must purchase a subscription once the allotted free credits are exhausted. In contrast, Stable Diffusion is an open-source solution that allows users to download the software and generate visually stunning artwork locally on their computers. For optimal performance, it is strongly advised to use a decent Nvidia graphics card.
After experimenting with Midjourney and Dall-e, I decided to test Stable Diffusion, and the setup process proved to be simpler than anticipated. It took approximately 20 minutes to install, with the majority of that time dedicated to downloading the 1.7 GB Windows installation file. The installation process itself consumed about 10 minutes and required roughly 25 GB of disk space. Here are the steps to get Stable Diffusion operational on a Windows system:
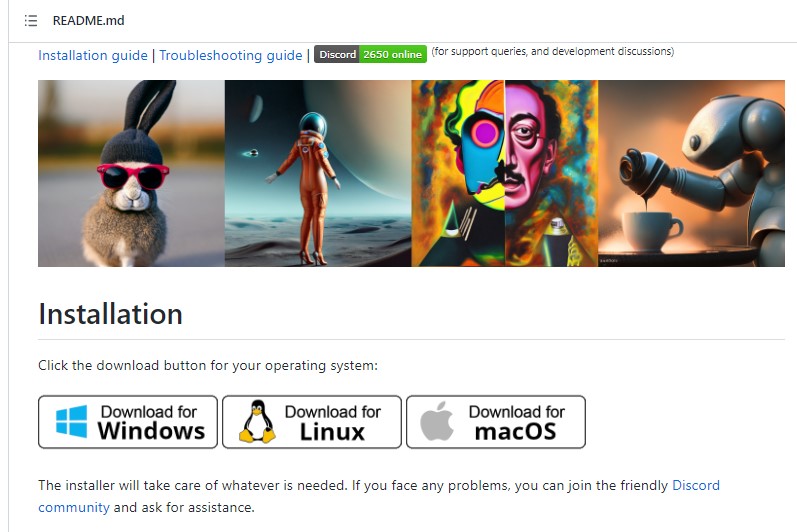
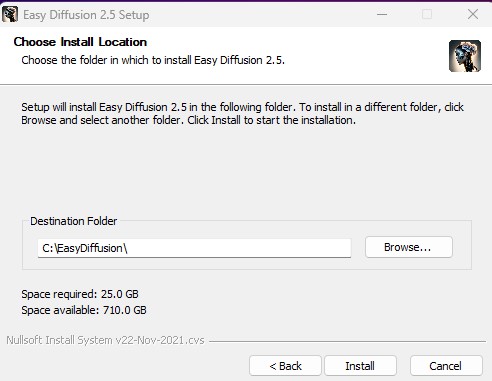
Visit Github at https://github.com/cmdr2/stable-diffusion-ui, scroll down the page, and click the “Download for Windows” link. Make sure to review the “On Windows” instructions, as they outline crucial steps such as bypassing the Windows security warning (click “More info” and “Run anyway”) and installing the software in a folder located in the root directory.

After downloading the 1.7 GB file, execute the .exe file. The installation duration may vary depending on your system; for instance, it took 10 minutes on my Core i9/32 GB memory setup, while on an i7/16 GB memory laptop, it required over 20 minutes.
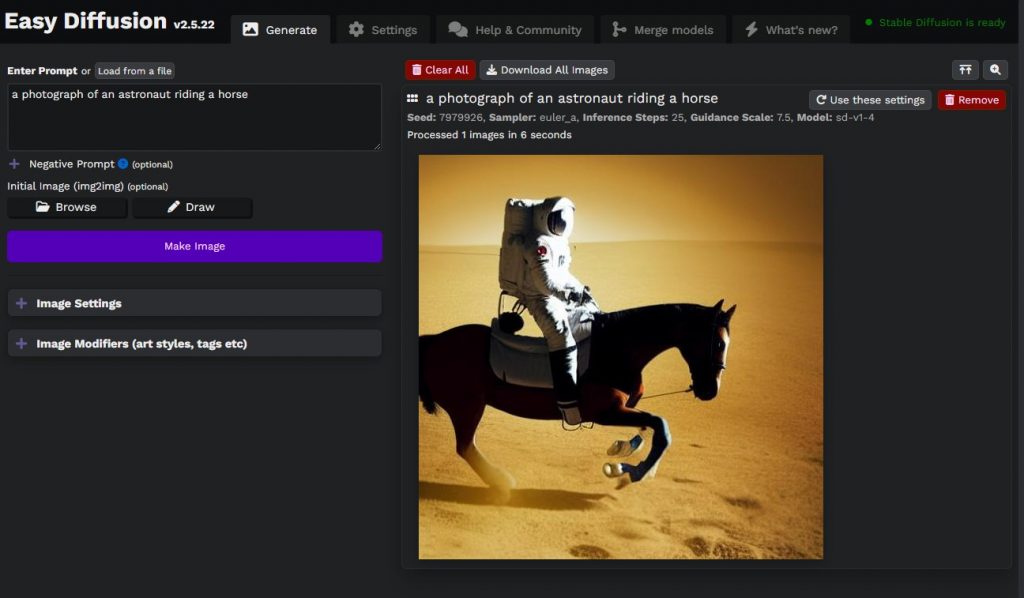
Upon completing the installation, the software will prompt you to launch it. The initial startup may take 5-10 minutes, though subsequent launches should require only around 30 seconds on a high-performance system like an i9 machine. If the software fails to automatically open your browser, navigate to “http://localhost:9000”. This will direct you to Stable Diffusion’s “Generate” page.
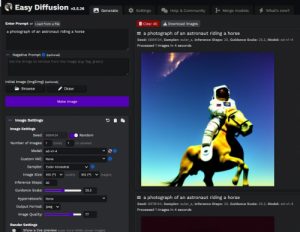
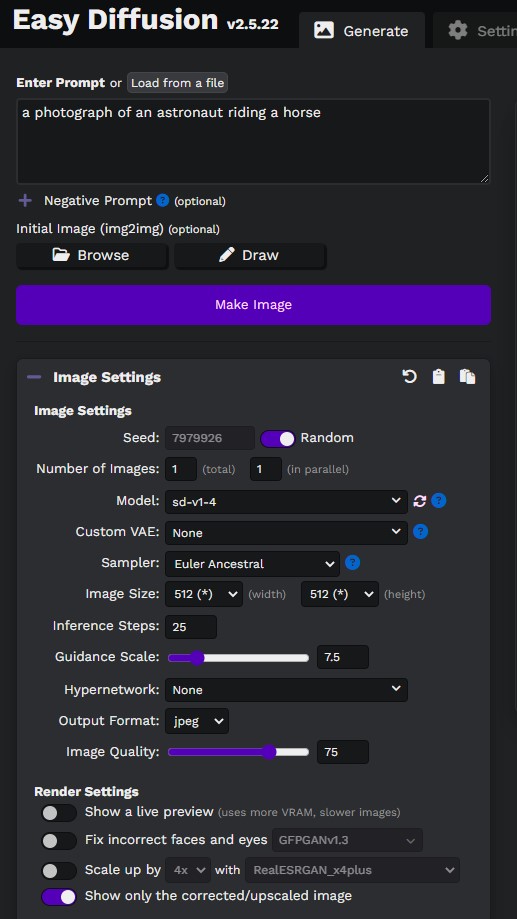
The page will display a sample prompt: “a photograph of an astronaut riding a horse”. To generate an image, simply click the “Make Image” button. The rendering time depends on your graphics card; for instance, my 3070 card takes 5-10 seconds to render an image, but on the 3050 card on my laptop, it takes approximately 1-2 minutes to render an image.
Beneath the “Make Image” button is an “Image Settings” section, where you can customize various parameters, such as the number of images generated, image size, quality, output format, and other options.
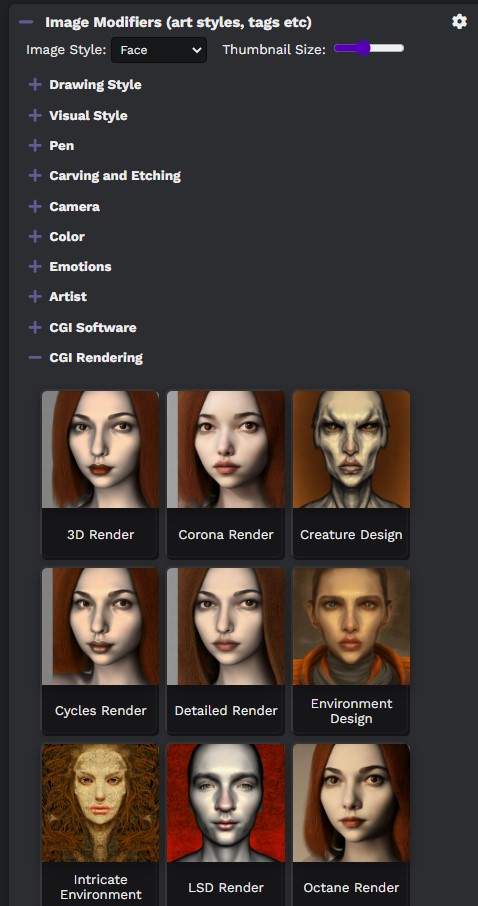
The “Image Modifier” section, located below the image settings, allows users to enhance their prompts by selecting desired features, such as drawing style, camera, color, or the style of a famous artist. Over 60 artist styles are available to choose from.
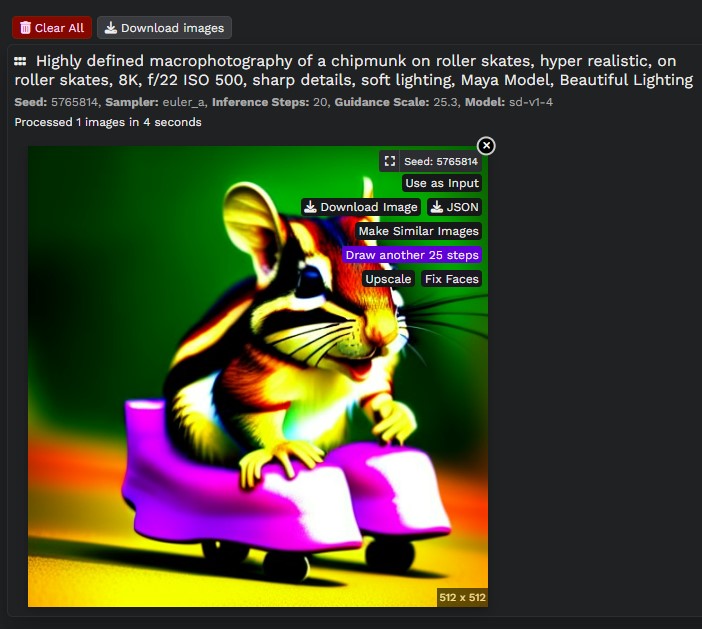
Once your image is rendered, you can hover over it to access options such as “Download Image,” “Make Similar Images,” and “Upscale.”
By following these steps, you can quickly and efficiently set up Stable Diffusion on your Windows computer and begin creating striking AI-generated art with ease.